Monday, June 24, 2013

Strawberry Freezer Jam (Using Ball RealFruit Instant Pectin)

Strawberry Freezer Jam
My fam loves strawberry freezer jam, and I love this new method to make it- I use Ball Instant Pectin and it calls for WAY less sugar than Sure-Jell, which I can't even buy here anyway.  (I buy mine from Amazon, but I saw it at WalMart in the States last summer.)  It's so easy too; you don't even have to cook the pectin like other recipes.  Just stir together sugar and pectin, add crushed fruit, and stir for three minutes.  I love it!  
Strawberry Freezer Jam
To make this jam, we used delicious, fresh, local strawberries from the Farmer's Market mentioned in this post.   The berries alone were delicious.  And of course, we had to get doughnuts as big as our heads again. 

Strawberry Freezer Jam (Using Ball RealFruit Instant Pectin)
adapted from Ball
makes about 2 cups; easily doubled

1 2/3 cups crushed strawberries (measure exactly)
2/3 cup granulated sugar (measure exactly)

1.  Stir sugar and pectin in a large bowl.  Add fruit; stir 3 minutes.  Ladle jam into clean freezer containers; let stand 30 minutes.  Enjoy or freeze for up to one year.  
Strawberry Freezer Jam
**This post and photos are property of http://dishingwithdish.blogspot.com/**
Friday, June 21, 2013

Russischer Zupfkuchen (German "Russian-Style" Cheesecake)

Russian German Cheesecake
My six-year old son loves looking through my German Baking Book and picking out things to make.  He picked this one because there were plastic diamond props under the dessert.  He's really into diamonds right now.  :)  This is one I actually wanted to make anyway, so I was glad he was so excited about it.  
Russian German Cheesecake
This is a popular dessert in Germany- you can even buy a mix to make it, from a grocery store.  On one of my first visits to Germany, there was even a "special edition" yogurt that was this flavor.  The kids really liked this cheesecake.  It's not terribly sweet, so some enjoyed it with a drizzle of chocolate of chocolate syrup on top.
Russian German Cheesecake
Russischer Zupfkuchen (German "Russian-Style" Cheesecake)
adapted from German Baking Today

Crust:
250 g/9 oz all-purpose flour
30 g/1 oz cocoa powder
2 teaspoons baking powder
125 g/4.5 oz sugar
2 teaspoons pure vanilla extract
1 medium egg
125 g/4.5 oz butter, melted and cooled

Filling:
150 g/5 oz butter, softened
500 g/18 oz low fat Quark* cheese
150 g/5.5 oz sugar
2 teaspoons pure vanilla extract
3 medium eggs
40 g/1.5 oz instant custard powder (Bird's)

1.  Grease an 8 or 9-inch spring form pan.  

2.  To make the dough: mix together the flour with the cocoa powder and baking powder, sift into a mixing bowl and add the other ingredients for the dough.  Stir with a hand mixer until dough is formed.  It should be firm, like sugar cookie dough.  Wrap in plastic wrap and refrigerate for 30 minutes.  

2.  Preheat oven to 350 F or 180 C.  Divide the dough into fourths mentally.  Take 3/4 of the dough and reserve the last 1/4 for later.  Roll out the bigger part of the dough to line the greased spring form pan.  Press into place, making sure it is snug against the pan and up the sides about an inch or a little more.

3.  Make the filling by whisking together the quark cheese, sugar, vanilla, eggs, custard powder and melted butter until smooth.  Pour this into the spring form pan and smooth the surface flat.  Then, tear the rest of the dough (the 1/4) into small pieces and scatter over the top of the filling.  Place the cheesecake in the oven.  

4.  Bake for 50-65 minutes or until just a little jiggle remains in the center.  Let the cake cool in the pan on a wire rack.  Refrigerate for at least a few hours before eating, or overnight.  

*Quark is a German fresh cheese.  It's similar to thick sour cream, or Greek yogurt, or plain yogurt that has been strained overnight.  
Russian German Cheesecake
**This post and photos are property of http://dishingwithdish.blogspot.com/ **

Wednesday, June 19, 2013

Honey-Lime Chicken Skewers

Honey-Lime Chicken Skewers
We had these delicious skewers a few weeks ago, and then made them again a week later because I liked them so much.  These are pretty easy- the hardest part is cutting up the chicken and skewering it.  This is a great summer dish!
Honey-Lime Chicken Skewers
adapted from Kitchen Meets Girl

3 tablespoons soy sauce*
2 tablespoons honey
1 tablespoon vegetable oil
juice of one lime
2 garlic cloves, minced
1-2 teaspoon Siracha sauce or hot sauce
red pepper flakes, to taste
2 tablespoon cilantro
1 pound skinless, boneless chicken breasts, cut into bite-sized pieces

1.  In a small bowl, combine your ingredients, through the cilantro. Mix thoroughly.  Pour marinade over chicken breasts and turn to coat. Cover and allow to marinate for at least 1 hour.

2.  Thread chicken onto metal skewers, or wooden skewers that have been soaked in water for at least 30 minutes.

3.  Grill on medium high heat for 6 to 8 minutes per side, until juices run clear.
*Use gluten-free soy sauce if gluten is an issue.

                                                                 **This post and photos are property of http://dishingwithdish.blogspot.com/ **

Monday, June 17, 2013

Jalapeno Popper Dip

Jalapeno Popper Dip
This dip was so good, I made it twice in one week.  Once, as "dinner" (haha) for my husband and I, and again, doubled, for a get-together.  I'm happy to say that even leftovers warmed in the microwave are just as good as fresh.  I left out the fresh jalapenos when making this and just used pickled ones from a jar.  This was a hit with pretty much anyone who had some. 
Jalapeno Popper Dip
I can't get small cans of pickled jalapenos here, so I just estimated the amount out of the big jar.  You can do the same, or even measure (on a scale) if you want to be precise.  If you can get Neufchatel cheese, use that instead of full-fat cream cheese.  Also try low-fat mayo if you have that on hand!  
Jalapeno Popper Dip
Jalapeno Popper Dip
adapted from Closet Cooking

  • 1 (8 ounce) package cream cheese (or Neufchatel), room temperature
  • 1/2 cup mayonnaise
  • 1/2 cup shredded cheddar cheese (I used colby-jack)
  • 1/2 cup grated parmigiano reggiano (parmesan)
  • 1 (4 ounce) can sliced jalapenos (pickled), drained (use more or less, if desired)
  • 2 jalapeno peppers, chopped (optional)
  • 1/4 cup panko bread crumbs
  • 1/4 cup parmigiano reggiano (parmesan), grated
  • 1.  Mix the cream cheese, mayonnaise, cheddar cheese, parmigiano reggiano and jalapenos in a bowl and pour into a small, lightly greased baking dish.
  • 2.  Mix the panko bread crumbs and 1/4 cup parmigiano reggiano and sprinkle over the dip.
  • 3.  Bake in a preheated 350F oven until the sides are bubbling and the cheese cheese has melted and turned golden brown on top, about 15-20 minutes.
Tip: Add crumbled bacon for a bacon wrapped jalapeno popper version!
Jalapeno Popper Dip
**This post and photos are property of http://dishingwithdish.blogspot.com/ **

Saturday, June 15, 2013

Overnight Blueberry French Toast

Overnight French Toast
I love overnight french toast.  This one is a lot prettier than that old one, lol.  Berries always help with that.  Also, this one looks a lot better just because you cube the bread.  I really like this recipe.  Many years ago, I tried a similar recipe with cream cheese and blueberries, but it called for way too many eggs, and that totally ruined it.  So I haven't tried a blueberry recipe for many years, until I saw this recipe on Cooking Classy.  I'm glad I tried it- it was so good!
Overnight French Toast
When I made this, I just made a half-recipe, since I knew most of my kids wouldn't eat it.  The leftovers heat up really well.  I used frozen berries- blueberries for the recipe, and raspberries for garnish.  

Overnight Blueberry French Toast
adapted from Cooking Classy
makes a large 9x13 dish; easily cut in half (use an 8x8)

1 loaf day old french bread
12 oz. Neufchatel cheese or cream cheese
1/4 cup powdered sugar
1 1/2 tsp vanilla, divided
2 cups fresh or frozen blueberries (no thawing necessary if frozen)
10 large eggs
2 cups milk
5 Tbsp granulated sugar, divided

  • 1.  Cut 1/2-inch off both ends of bread and discard (or eat). Cut loaf into 1-inch slices then cut each slice into 1-inch cubes (Cut the loaf in half first then keep the cubes from each half separate so it would be easier to determine half). Spread half of the bread cubes into an even layer in a buttered 13 by 9-inch baking dish, set aside remaining bread cubes.
  • 2.  In a small bowl, using an electric hand mixer, blend together Nuefchatel or cream cheese, powdered sugar and 1/2 tsp vanilla.  Using a rubber spatula and a clean fingertip, spread Nuefchatel cheese mixture over bread cube layer in baking dish. Sprinkle blueberries over Nuefchatel cheese layer. Spread remaining bread cubes into an even layer over top of blueberries.
  • 3.  In a blender, (or just with a bowl and whisk) blend together eggs, milk, granulated sugar and remaining 1 tsp vanilla on low speed until well blended, about 10 seconds. Slowly pour mixture evenly over top of bread cubes in baking dish. Cover with plastic wrap and refrigerate 8 hours or overnight.
  • 4.  The following morning, remove baking dish from refrigerator and allow to rest at room temperature for 30 minutes. Preheat oven to 350 degrees during the last 10 minutes of resting.
  • 5.  Remove plastic wrap. Cover baking dish with aluminium foil and bake in preheated oven 30 minutes, then remove foil and continue to bake 25 - 35 minutes, until golden brown (if it is becoming too golden brown but isn't cooked through then you can cover with foil again during the last few minutes of baking). Allow to rest 5 minutes, then cut into servings and serve warm topped with maple syrup.
Overnight French Toast
**This post and photos are property of http://dishingwithdish.blogspot.com/ **

Friday, June 14, 2013

Homemade Butter (Two Recipes-From Scratch & Semi-Homemade)

Homemade Butter
A while ago, we made two kinds of butter for fun.  The kids had been begging me to make homemade butter in a jar using just cream, so we made that.  I also made a homemade spreadable butter, using just butter and canola oil.  You can keep this in the fridge and it stays soft and spreadable.  
Homemade Butter
When making the from scratch butter (pictured above), you just shake cream in a jar, as you may already know.  Slowly, it starts to thicken and then separate.  It also turns yellow, which is really cool!  One thing you have to do is drain the buttermilk, or the butter will quickly spoil.  I kneaded the butter in a bowl of really cold water (using a wooden spoon) for quite a while, because there were many pockets of liquid.  That was something I hadn't know about before.  It really helped get rid of all the buttermilk and help the butter come together, though.  

Homemade Butter (from Scratch)
adapted from here

heavy cream
salt, if desired
jars with tight-fitting lids

1.  Pour your cream into jars.  Don't fill the jars too full.  Shake, shake shake.  (It will feel like forever.)

2.  After a while, the cream will start to thicken, separate, and turn yellow.  Shake until it becomes pretty solid and there is liquid in the jar.

3.  Drain the liquid (buttermilk) and save for another recipe, if desired.  (We used it in pancakes but it was nothing like purchased buttermilk and didn't work very well.)  Fill a glass or metal bowl with very cold water.  Place the chunk of butter in the bowl, and with a wooden spoon, "knead" the butter to get rid of any liquid pockets.  Keep rinsing with very cold water (like from the fridge) until the water runs clear.  Your butter is now ready.  Add salt now, if desired, and store in the fridge.
Spreadable Butter
Spreadable Butter (Semi-Homemade)
adapted from Live Pretty
easily doubled

1 stick (1/2 cup) salted butter, softened
2 tablespoons canola oil

1.  Whip butter (preferably in a stand mixer) until smooth.  While mixing, slowly add in canola oil.  Place in an airtight container and store in the fridge.  
Spreadable Butter
**This post and photos are property of http://dishingwithdish.blogspot.com/ **

Monday, June 10, 2013

Cream Cheese, Bacon & Egg Sandwich

Portuguese Sandwich
Recently at our favorite little Portuguese cafe here, we happened to be there when some friends of ours were also there, eating.  They had these sandwiches that looked really good so I asked the waitress if I could have what they were having.  There was cream cheese mixed with bacon pieces, hard-boiled eggs, onions, and lettuce on a baguette.  Oh yeah, it had corn kernels on it too, but I chose to leave those off of mine when I made it at home.  :)  The combo sounds weird but it is really delicious!  
Portuguese Sandwich
Cream Cheese, Bacon & Egg Sandwich
by What a Dish!
One serving

1 baguette roll
2 tablespoons softened cream cheese or spreadable cream cheese
1 tablespoon real bacon bits
1 hard-boiled egg, peeled and sliced
thinly sliced onion (red, yellow or white)
lettuce leaves

1.  Slice baguette in half.  In a small bowl, combine cream cheese with bacon bits.  Spread on bottom of baguette.  Top with slices of hard boiled egg, onion, and lettuce leaves.  Close sandwich and enjoy.  :)
Portuguese Sandwich
**This post and photos are property of http://dishingwithdish.blogspot.com/ **

Friday, June 7, 2013

Carnitas II (Can Make in the Crockpot!)

Carnitas (Slow Cooker)
After trying another recipe for Carnitas, I saw Closet Cooking's version.  His was slightly different, plus he included a slow cooker version, so I made it right away.  My husband and I really loved this version, too, and I LOVE that the bulk of the cooking is done in the crockpot.  You just have to reduce the sauce and broil the meat after.  Since I made it in the crockpot, I reduced the water down to one cup.  
Carnitas (Slow Cooker)
This time, I had the ingredients on hand to make Guacamole Salsa from Domestic Creativity.  (Scroll down for recipe.)  I also made some Pico de Gallo.  All of these flavors together was SO good; almost too much to take in all at once!!  I LOVED this meal.  I don't want to make it too often, because the cut of meat you have to use (Pork butt or Boston butt or shoulder; all the same thing, and from the shoulder, NOT the derriere!) is so fatty that I try not to.  Although I have a pork butt in my fridge right now..... but I might freeze it for later.  (You have to buy stuff when you see it, here, or it may be a while until you see it again!)  
Carnitas (Slow Cooker)
Carnitas II (Slow Cooker)
adapted from Closet Cooking

  • 1 (2-4 lb) pork butt or shoulder, fat trimmed and cut into 2 inch pieces
  • 1/2 teaspoon salt
  • 1 tablespoon oil
  • 1 cup water
  • 3/4 cup orange juice
  • 1/4 cup lime juice
  • 4 cloves garlic, chopped
  • 1 tablespoon chili powder
  • 1 teaspoon cumin
  • 1 teaspoon oregano
  • 1/2 teaspoon pepper

  • 1.  Season the pork with the salt.  Heat the oil in a large pan over medium-high heat, add the pork, sear on all sides and set aside.  Add 1 cup water and scrape the brown bits from the bottom of the pan.

  • 2.   Place everything in a slow cooker and cook until the pork is falling apart tender, about 4-5 hours on high or 6-8 hours on low.  Remove the pork from the liquid, set aside to cool and shred, removing any fat.  Place pork on a rimmed baking sheet, lined with greased foil.

  • 3.  Meanwhile, skim any fat from the liquid and simmer (in a large skillet) to reduce to 1 cup.  Mix the liquid into the pork on the baking sheet, spread it out in a single layer, and broil until crispy on top, about 4-6 minutes.  Flip and broil until crispy, about 4-6 minutes.  Enjoy on by itself or in tacos, burritos, quesadillas, etc.  

Guacamole Salsa
adapted from Domestic Creativity

1 8oz jar salsa verde (my sub since I cannot get tomatillos here)
1 jalapeno pepper or pickled jalapenos
1/3 bunch cilantro
1 thick slice of onion
juice of 1 lime
1 garlic clove
1 avocado
salt, to taste (I omitted since salsa was salty)

1.  Blend everything in a food processor or blender and serve it over the Carnitas meat in tacos.  Keeps in the fridge for a week in a sealed container.

Avocado Salsa (for Carnitas)
**This post and photos are property of http://dishingwithdish.blogspot.com/ **

Wednesday, June 5, 2013

Coconut Steel-Cut Oatmeal (Slow Cooker)

Coconut Oatmeal
I've had the idea of an oatmeal made with coconut milk floating around in my head for a while.  I just took a recipe I've used often, and instead of one can of evaporated milk, I used one can of coconut milk.  It was delicious.  I topped servings with toasted coconut and sliced bananas.  
Coconut Oatmeal
Coconut Steel-Cut Oatmeal (Slow Cooker)
adapted from here

1 cup steel cut oats
1 can (13.5 oz) coconut milk, plus enough water to bring liquid to 4 cups
1/4 cup pure maple syrup (or homemade)
2 tablespoons packed light brown sugar (add more or less to taste)
1/4 teaspoon salt
1/2 teaspoon ground cinnamon
1.  Lightly coat the inside of a small (2-3 quart) slow cooker with cooking spray. Combine all the ingredients in the slow cooker and stir. Cook for 4-5 hours on low. Stir thoroughly before serving with a rubber spatula or wooden spoon.
2.  If not serving immediately, cool and refrigerate, covered.  In the mornings, place portions in micro-wave safe bowls and microwave for 3-5 minutes, or until hot.  Serve with dairy or almond milk, fresh fruit and/or frozen berries, and flax and chia seeds, if desired, a dash of extra cinnamon, and toasted coconut.

                                                     **This post and photos are property of http://dishingwithdish.blogspot.com/ **

Monday, June 3, 2013

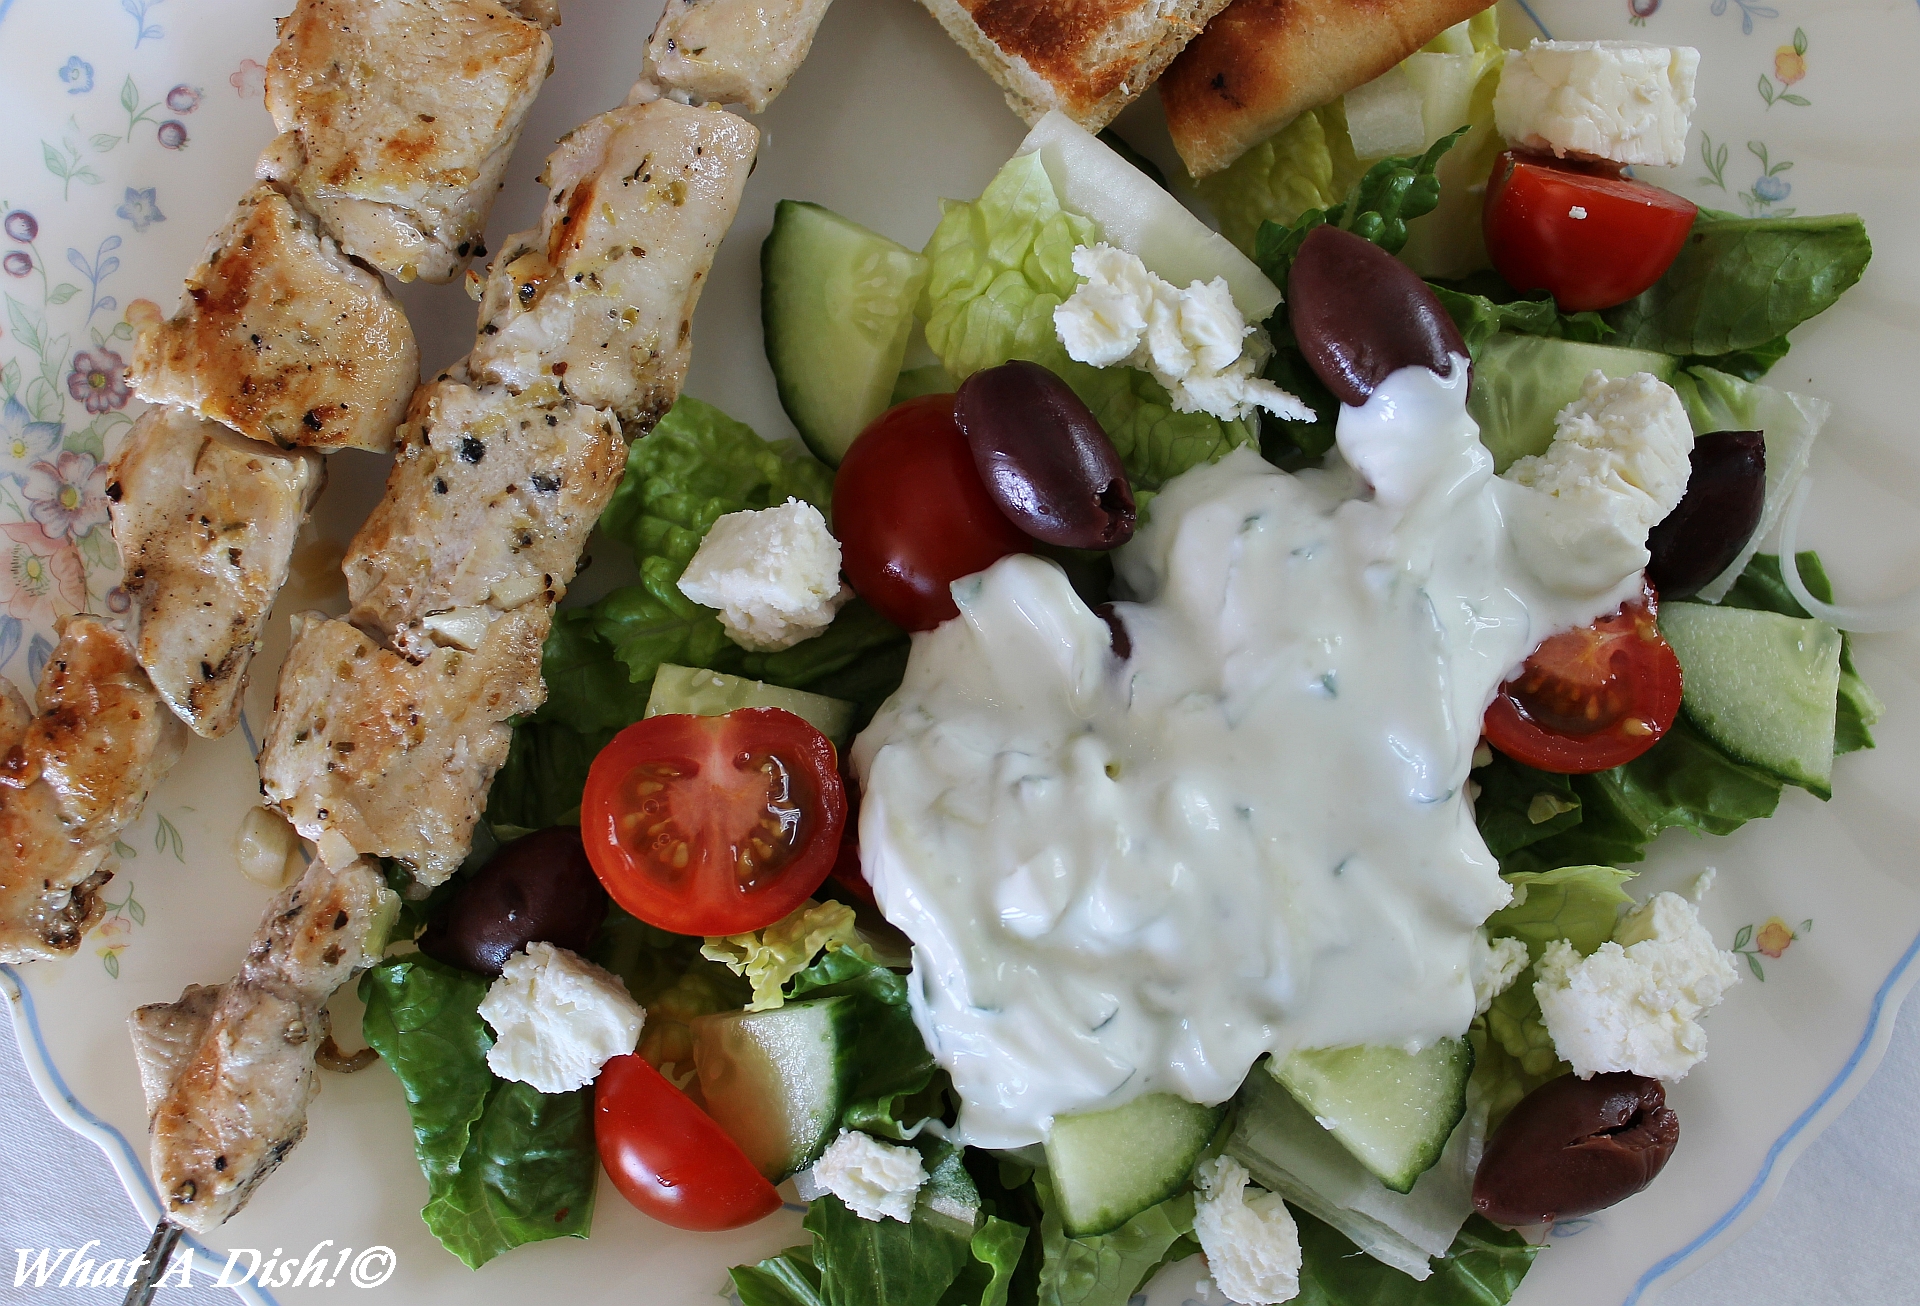
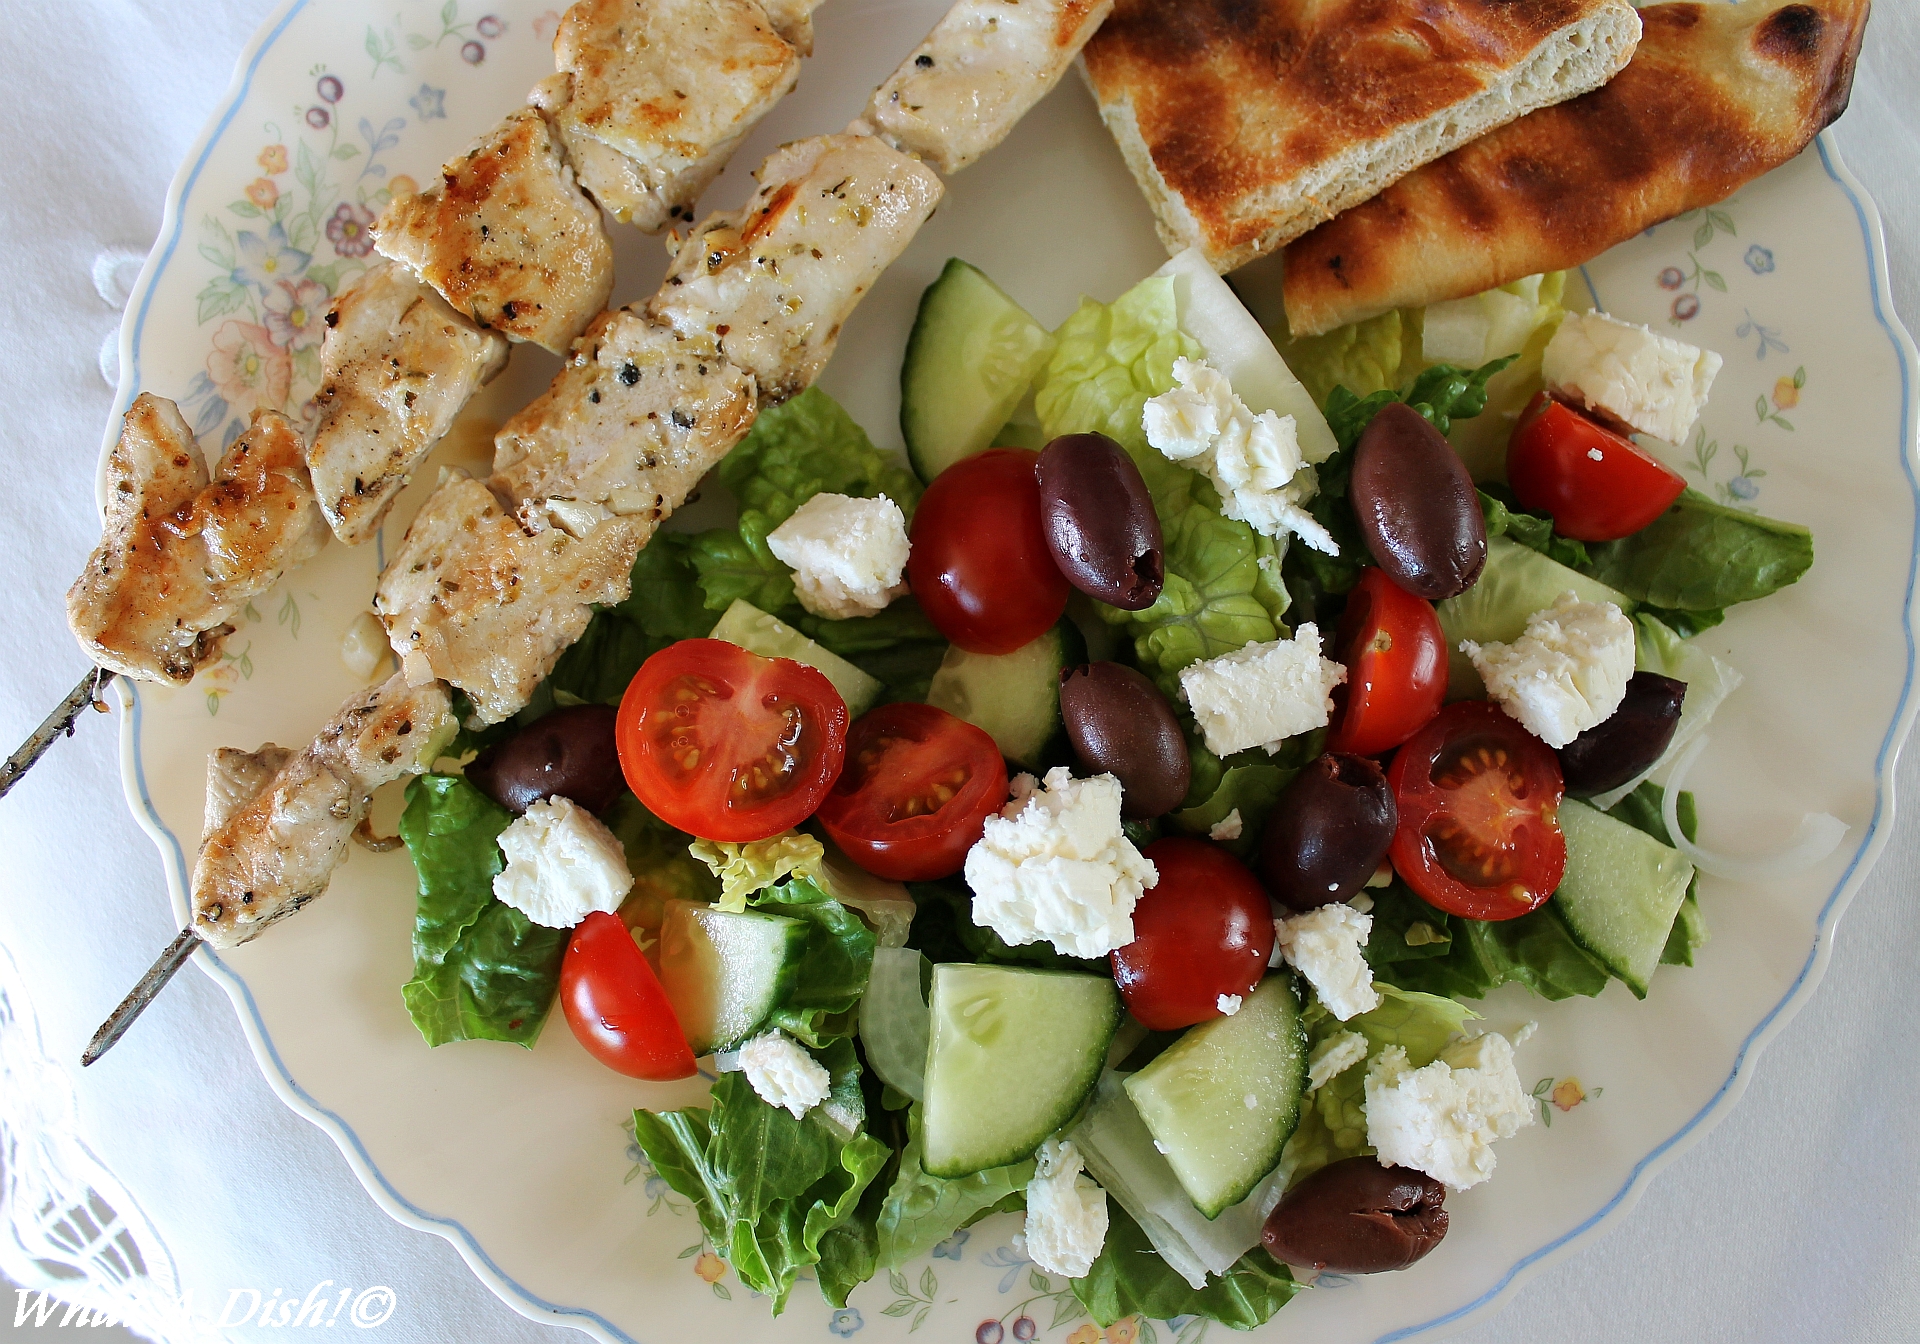
Chicken Souvlaki Salad

Chicken Souvlaki Salad
I loved this meal.  I've made Chicken Souvlaki before, and Tzaziki sauce a lot of times, and Greek Salad too, but never thought of putting them all together in the same meal!!  Thanks to Closet Cooking for this awesome idea.  We also had some Grilled Naan Bread on the side (or you could do pita or omit the bread.) This meal was incredibly flavorful and I enjoyed every bite.  I had leftovers of just the salad/tzatziki the next day and that was great, too.  Sadly, I think Kalamata (Greek) olives are no longer available here, but I'm going to look again this week.  We used the rest of ours in this meal.  They do sell them on Vitacost.com; if you want to order online.  
Chicken Souvlaki Salad
My laptop died after almost 5 years.... I'm so sad!  Now I have to use my husband's huge laptop and it's hard to type on.  Luckily I don't think we lost any pics because they are all backed up and the food ones are saved to Flickr.  Just a reminder to back up your stuff!  
Chicken Souvlaki Salad
adapted from Closet Cooking
(this recipe is gluten-free when served without pita or naan bread)

  • 2 cups chicken souvlaki, warm (recipe below)
  • 6 cups lettuce, sliced
  • 2 large tomatoes, diced
  • 1 large cucumber, diced
  • 1/4 cup red onion, diced
  • 1/4 cup kalamata olives, pitted and coarsely chopped
  • 1/4 cup feta, crumbled
  • 1/2 cup tzatziki sauce (recipe below)
  • 1.  Assemble the salad and enjoy!

Chicken Souvlaki
adapted from Closet Cooking

  • 2 cloves garlic, chopped
  • 1 lemon, juice and zest
  • 1 tablespoon plain yogurt
  • 2 tablespoons olive oil
  • 1 teaspoon dried oregano
  • 1/4 teaspoon salt
  • 1/4 teaspoon pepper
  • 1 pound chicken breast, cut into bite sized pieces
  • 1.  Mix all of the ingredients, place them in a sealed container along with the chicken and let marinate in the fridge for 30 minutes to overnight.
  • 2.  Skewer the meat, and grill over medium-high heat until cooked, about 2-4 minutes per side.  (If using wooden skewers, soak them in water for at least 10-20 minutes before skewering.)

Tzatziki Sauce
from here

1 1/2 cups plain yogurt
1 long cucumber or two shorters ones, shredded (squeeze out excess water with hands)
2 tablespoons fresh lemon juice
1/2 teaspoon salt
1 fresh garlic clove, minced
fresh herbs, optional (mint, parsley, dill, etc)

1) Combine all ingredients together and stir well.  Refrigerate for a few hours before serving.

                                              **This post and photos are property of http://dishingwithdish.blogspot.com/ **